I was recently sent the book Slow Cooker Desserts to try out. I immediately leafed through the book and found…
Read More


I was recently sent the book Slow Cooker Desserts to try out. I immediately leafed through the book and found…
Read More
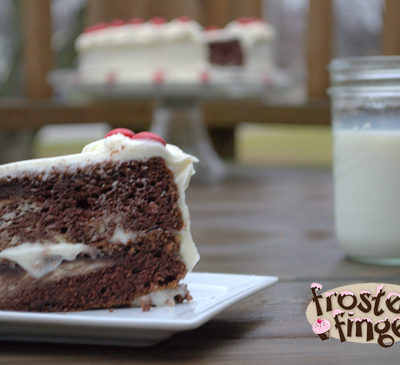
I went to Target today to pick up some ingredients to help me make this Cheesecake Swirled Devil’s Food Cake….
Read More

Times are tough and for some people, a nice friendly meal makes their day a little bit brighter. My go…
Read More

Lucky Leaf wanted me to try out one of their Valentine’s Day inspired recipes. I decided to try their Layers of…
Read More