This article is sponsored by Nestle Toll House I can not believe that today is 5 years that I’ve been…
Read More
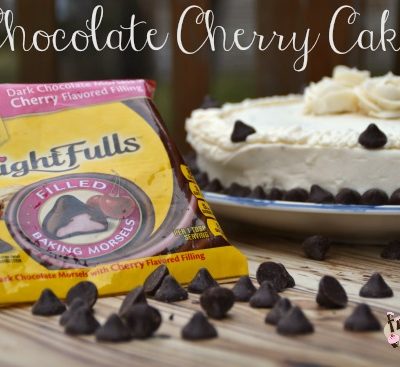
This article is sponsored by Nestle Toll House I can not believe that today is 5 years that I’ve been…
Read More

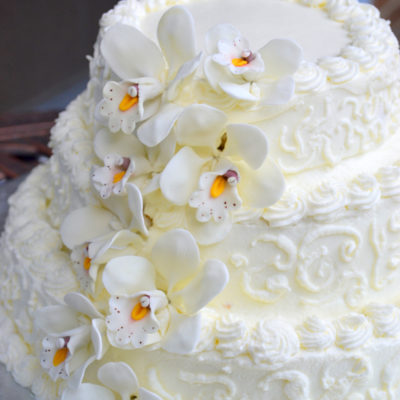
My friends got married last weekend and had an Island themed wedding, so I made them a Hawaiian Flower wedding…
Read More

Monkey’s birthday was on the 11th, which was also Mother’s Day this year. I decided I wanted to make some…
Read More
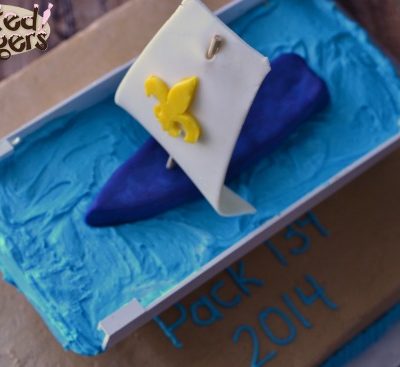
Two weekends ago our Cub Scout Pack had it’s Blue and Gold Ceremony. We always hold a cake auction as…
Read More
Cake made with this Tres Leches Recipe.